

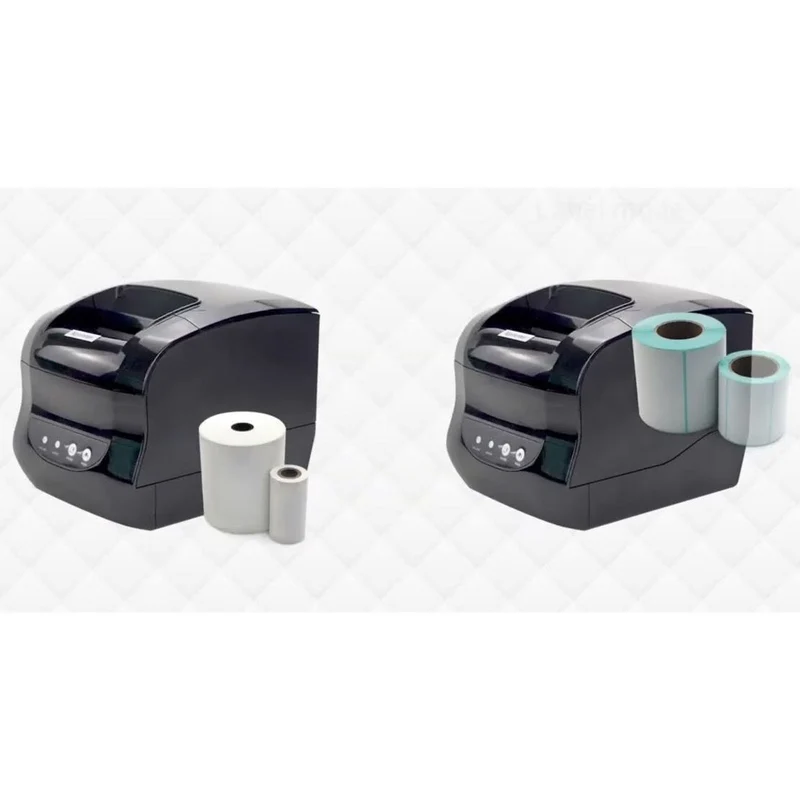
A reliable connection between a receipt printer and a point-of-sale system is essential for smooth checkout operations. When the printer communicates properly with the POS software, transaction details can be sent automatically for fast and accurate receipt printing. Proper setup also helps reduce printing errors and unnecessary interruptions during busy business hours.
An 80mm Receipt Printer can be connected to a POS system through several common interfaces, depending on the printer model and the equipment already used by the business. USB, Ethernet, Bluetooth, and other connection methods may be available, making it important to select the option that matches the POS environment. Before installation, businesses should confirm compatibility and prepare the necessary drivers, cables, and software settings.
Check Your POS System Requirements
Before connecting the printer, review the POS system’s hardware and software requirements. Some POS platforms support specific printer models, operating systems, or communication protocols.
Check the POS documentation to determine which receipt printers and connection types are supported. This step can prevent compatibility issues and make the installation process more straightforward.
Choose the Right Connection Method
The connection method depends on how the POS system is configured and where the printer will be located.
Common options include:
- USB: Suitable for a printer positioned close to a computer or POS terminal.
- Ethernet: Useful for businesses that need to connect the printer to a local network.
- Bluetooth: Convenient for compatible wireless POS environments where cable-free operation is preferred.
- Other interfaces: Some models may support additional communication options depending on their design.
Choosing the appropriate interface can improve reliability and make the printer easier to manage.
Connect the Printer Using USB
USB is one of the simplest ways to connect a receipt printer to a POS computer. Start by connecting the appropriate USB cable between the printer and the computer.
After connecting the hardware, turn on the printer and allow the operating system to detect the device. If required, install the manufacturer’s printer driver before configuring it within the POS software.
Once the printer is recognized, perform a test print to confirm that the connection is working correctly.
Connect Through Ethernet
Ethernet can be useful when the receipt printer needs to communicate with a POS system over a local network. This setup is particularly practical for businesses with multiple checkout stations or printers.
Connect the printer to the local network using an Ethernet cable and configure the required network settings. Depending on the system, you may need to assign or identify the printer’s network address before adding it to the POS software.
Network configuration should be tested carefully to ensure the POS terminal can communicate with the printer consistently.
Configure a Bluetooth Connection
Bluetooth can provide a convenient wireless connection for compatible POS systems. It eliminates the need for a physical cable between the printer and the paired device.
To configure Bluetooth, enable the wireless function on the printer and make it discoverable. Then use the POS device’s Bluetooth settings to locate and pair the printer.
After pairing, select the printer within the POS application and complete a test transaction. Wireless connections should be checked for stable communication, particularly if the printer is used frequently.
Install the Required Printer Driver
A compatible driver allows the operating system and POS software to communicate correctly with the printer. Some systems may recognize the printer automatically, while others require manual driver installation.
Use the appropriate driver for the printer model and operating system. After installation, verify that the printer appears correctly in the system’s available printer list.
Keeping the driver compatible with the POS environment can help prevent communication and formatting problems.
Add the Printer to Your POS Software
After establishing the physical or wireless connection, open the POS software settings. Look for the printer, receipt printer, or hardware configuration section.
Select the connected printer and configure the relevant receipt settings. Depending on the POS application, these may include:
- Receipt printer selection
- Paper width
- Character or print settings
- Automatic receipt printing
- Cash drawer integration
- Receipt formatting
Save the settings and verify that the selected printer is assigned to the correct checkout station.
Run a Test Transaction
A test transaction is an important part of the setup process. It confirms that the POS system can send information to the printer and that the receipt is produced correctly.
Check the printed receipt for:
- Correct product information
- Accurate prices and totals
- Proper tax and discount details
- Clear text and formatting
- Correct receipt width
- Appropriate spacing and alignment
If the receipt does not print correctly, review the connection, driver, and POS printer settings before processing live transactions.
Troubleshoot Common Connection Problems
If the printer does not respond, start with the simplest possible checks. Confirm that the printer is powered on and that all cables are securely connected.
For network or wireless setups, verify that the POS device and printer are communicating through the expected connection. For USB installations, check whether the operating system recognizes the printer.
Other common causes include incorrect drivers, unsupported printer settings, or selecting the wrong printer inside the POS application.
Keep the Setup Organized
A well-organized installation can make future maintenance easier. Keep cables secured and avoid placing them where employees or customers could accidentally disconnect them.
For network-connected printers, label devices or document their relevant configuration details when appropriate. Clear organization can make troubleshooting faster if a connection problem occurs later.
Maintain the Printer and POS System
Successful installation is only the beginning. Regular maintenance helps keep the printer operating consistently.
Replace thermal paper when necessary, keep the print area clean according to the manufacturer’s recommendations, and periodically check connections. Businesses should also review POS software and printer drivers when updates are introduced to ensure continued compatibility.
Conclusion
Connecting an 80mm receipt printer to a POS system involves more than plugging in a cable. Businesses should first confirm compatibility, choose an appropriate connection method, install any required drivers, configure the printer in the POS software, and complete test transactions.
A properly configured setup can make receipt printing faster and more reliable while reducing interruptions at the checkout counter. By following a structured installation process and maintaining both the printer and POS system, businesses can support efficient daily sales operations.
About Post Author





More Stories
How to Identify High-Quality Tissue Culture Plants Before Purchasing
Factors to Consider When Choosing Paper Lunch Boxes Wholesale
Understanding Sand Aluminium Casting and Its Role in Custom Metal Component Production